I love having variety in my diet, and I figured it was about time I played around with some of the sandwich breads we all enjoy eating. I wanted something that added a bit more pizazz into our normal sandwich breads we make (usually my GF honey whole wheat or GF white bread recipes). This variation of sandwich bread was a big hit with everyone! Despite making a double batch, it's gone quickly. My 8 year old son loves it for his school lunches. In fact, I made him make his own batch last time.
In a large bowl, mix the following: (It's important to mix dry ingredients separately in GF cooking to avoid clumping)
In a stand-mixer, mix the following on low speed (use the normal beater, not dough hook or whisk):
Add and mix in:
Put dough into prepared pan. The dough should not fill the pan more than 2/3 full.
Press into top of each loaf (to help them stick):
Gluten-free oats OR extra sesame seeds
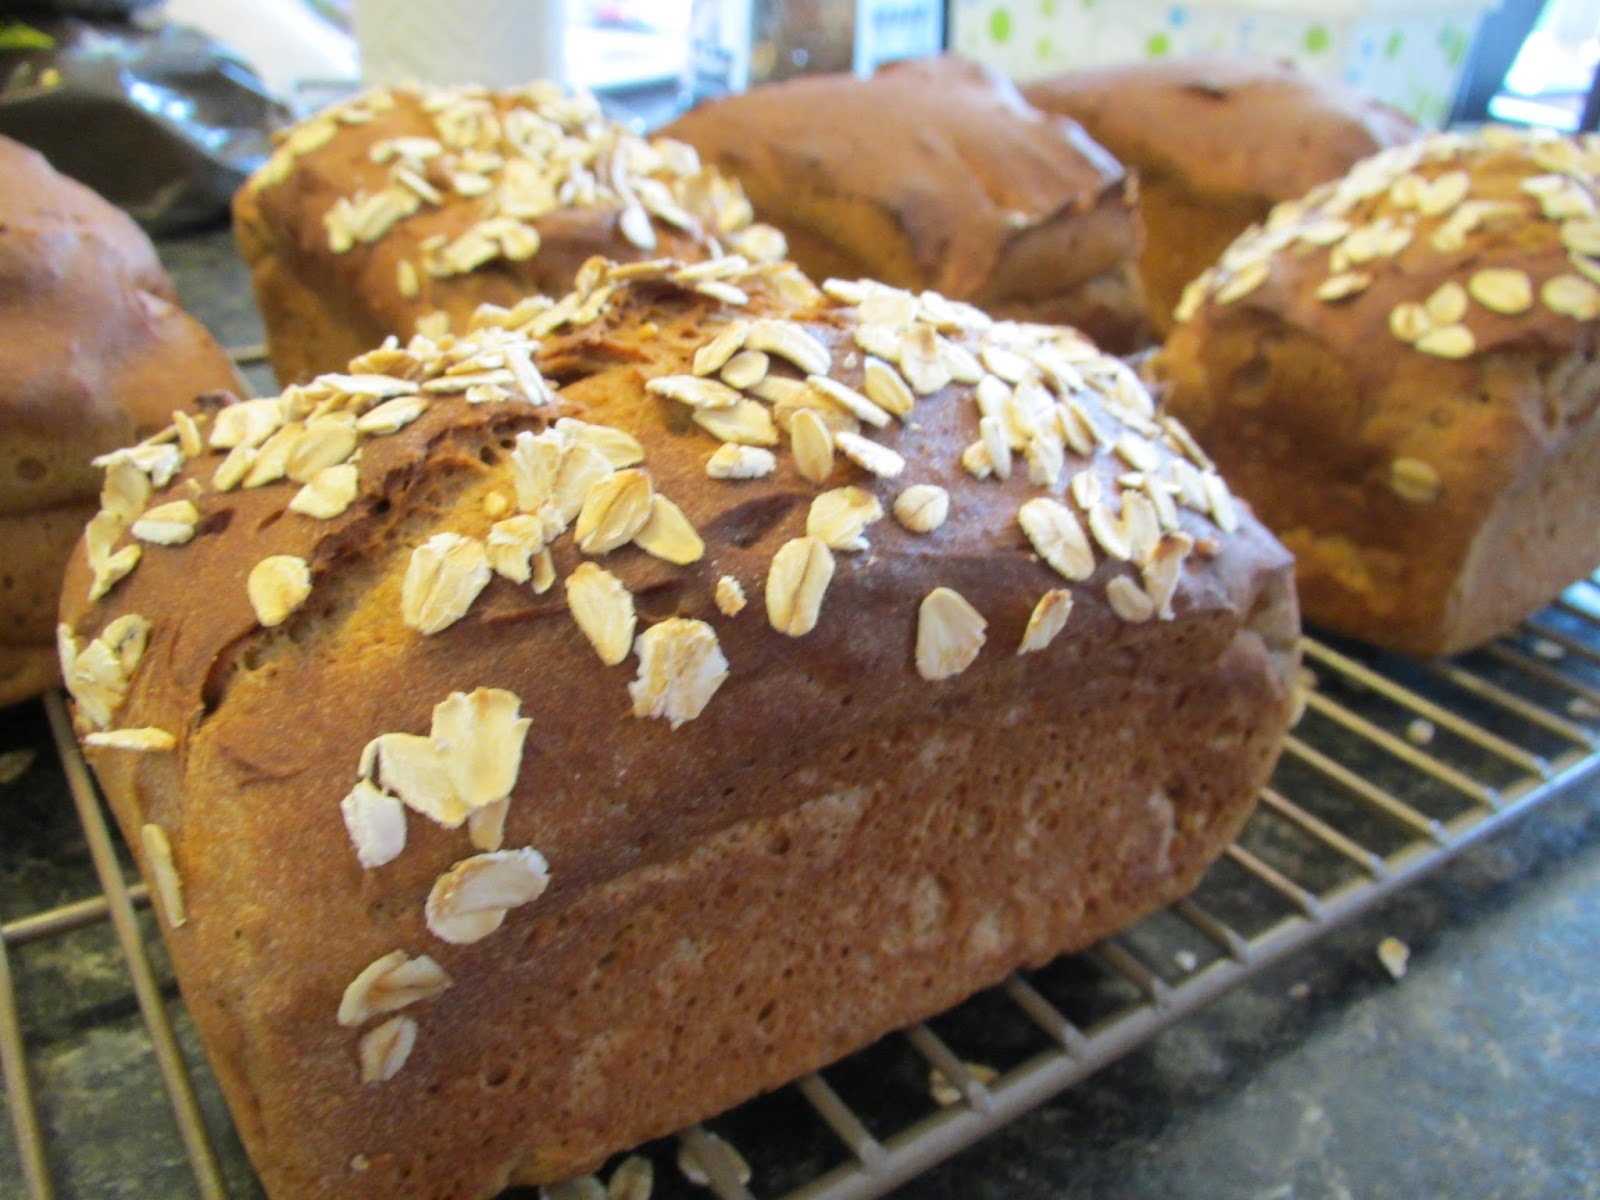
.JPG)
Gluten-Free Multigrain & Seed Bread
This recipe is a modification of the GF honey whole wheat bread recipe I've posted previously.
Yes, you can double this recipe easily!
Grease 3 mini-loaf pans OR 1 regular loaf pan w/ butter.
In a large bowl, mix the following: (It's important to mix dry ingredients separately in GF cooking to avoid clumping)
1 ¾ cup brown rice flour
½ cup sorghum flour
1/3 cup arrowroot starch (OR ½ cup cornstarch)
1 Tbsp. xanthan gum
1 Tbsp. instant yeast (rapid-rise yeast)
1 ¼ tsp salt
In a stand-mixer, mix the following on low speed (use the normal beater, not dough hook or whisk):
1 cup water
1 tsp apple cider vinegar
2 Tbsp vegetable oil
2 Tbsp liquid honey
2 Tbsp. molasses
3 eggs (you can use chia seeds soaked in water as an egg replacement, too, for extra seed-action in this bread)
Slowly add dry ingredients into the wet ingredients (mix on low to do this).
Then, allow your dough to mix on medium speed for 3-4 minutes. The dough should be nice and stretchy and have a nice sweet, doughy smell.
Add and mix in:
2 Tbsp sunflower seeds
1 ½ Tbsp flaxseed meal
1 Tbsp sesame seeds
1 Tbsp small pumpkin seeds (optional)
1 ½ Tbsp flaxseed meal
1 Tbsp sesame seeds
1 Tbsp small pumpkin seeds (optional)
Put dough into prepared pan. The dough should not fill the pan more than 2/3 full.
Press into top of each loaf (to help them stick):
Gluten-free oats OR extra sesame seeds
Let stand and rise in a warm location for 30 min - 1 hr. This really depends on how warm the location is that your bread is rising and whether or not you’re making mini loaves or a regular loaf. Stay nearby so you can check on it regularly –particularly the first time you make the recipe.
Once dough has risen just to the top of the bread pan (*see note below), bake @ 350F for 25 minutes for mini-loaves, and ~40-45 for regular loaf. The bread will be nicely browned.
Turn out of pan(s) onto a cooling rack once loaf is done. The loaf should be nicely browned and sound hollow when tapped on bottom.


Once dough has risen just to the top of the bread pan (*see note below), bake @ 350F for 25 minutes for mini-loaves, and ~40-45 for regular loaf. The bread will be nicely browned.
Let cool; then slice thick or thin. You can slice and freeze whatever you won't eat within 2-3 days. It toasts fabulously! Enjoy!
* Note: gluten-free bread isn’t quite as forgiving as normal bread during rising and baking. It will happily collapse or shrink in on itself. If you let the dough rise too much (above the top of the edge of the bread pan before baking), the dough will puff up nicely when baking, but when it’s cooling, the sides will sink in. The bread still tastes great, but it’s not quite the nice square loaf with rounded top you’ll be going for.
No comments:
Post a Comment